Cloud Computing
As part of a graduate course in cloud computing, I worked with a group to develop a container testing service. Many organizations host their web applications using containers (see below) that run on cloud infrastructure. Our group determined that a service allowing organizations to test their containerized applications in a simulated cloud-based production environment would be met with enthusiasm. The service we would implement would allow our clients to upload a container image to our infrastructure. Our service would then provision the necessary resources to deploy and test this container. Almost immediately, we recognized that providing such a service entailed exposing our infrastructure to abuse by malicious actors. For example it would be trivial to upload a container intended to misuse our cloud infrastructure for the purpose of mining cryptocurrency, or to provision web hosting services in order to facilitate illegal activity. We determined it would be necessary to thoroughly vet our clients and also to require them to register an account with us before using our service. My contribution to this project was to create an authentication microservice that would be used to authenticate our clients before they could access our service.
What is an API? What are containers?
Generally speaking, an API is a software intermediary that allows two applications to talk to each other. For example, if you are using your phone and want to access a YouTube video, your phone will communicate with the YouTube servers using an intermediary API that takes your phone’s request, retrieves the data from YouTube’s servers and returns it to your device. An API also adds a layer of security by ensuring that the two devices only access each other through a predefined intermediary. However, APIs can actually be security flaws if the access to the API is not properly controlled and have been for websites such as Facebook. Modern APIs often rely on standards (such as HTTP or REST), which are friendly to developers and widely understood.
The functional unit of an API is known as an endpoint. Endpoints can be implemented to perform specific functions. Imagine an API that is contacted in order to retrieve up-to-date weather information. One endpoint may return JSON data describing a weather forecast and another endpoint may return current weather information. Most APIs are contacted via the public internet, and in such cases, the API is accessed at its base url. For example, the United States National Weather Service provides a free and public API providing weather information at the base address https://api.weather.gov. Navigating to this link in a web browser, or requesting the page via cURL or similar command line tool, will return a message informing the API consumer of the APIs status. Specific endpoints can be accessed by appending to the base url. For example, https://api.weather.gov/alerts returns a list of all current weather alerts in the United States.
Frequently, APIs are run in Docker containers, which allows them to be highly portable (able to operate on a wide variety of infrastructure across various operating systems) and also highly efficient (operate on as little computing resources as possible). A developer is able to write a recipe describing a particular container using a dockerfile. The example below demonstrates the specification necessary to run an API accessing Amazon Web Services (AWS) resources. This dockerfile will be used to house the API examined in depth on this page:
-
The
FROMinstruction specifies a parent image to install onto the container; in this case a variant of Debian Buster that contains the minimal dependencies (slim) required to run Python 3.8. -
The
WORKDIRinstruction sets the working directory for any subsequentRUNcommands. -
Environment variables can be specified using the
ENVinstruction. In this case, such environment variables are credentials to access AWS resources and have thus been redacted. -
The
COPYinstruction has been used here to copy files from the local machine into the container. -
The
RUNinstruction is used to execute a command that will install packages required by the API. -
The
EXPOSEinstruction is used to instruct the container to listen on a specific port at runtime. -
The
CMDinstruction specifies a command to execute once runtime begins.
FROM python:3.8-slim-buster
WORKDIR /app
ENV AWS_DEFAULT_REGION=us-west-2
ENV AWS_ACCESS_KEY_ID="REDACTED"
ENV AWS_SECRET_ACCESS_KEY="REDACTED"
COPY ./requirements.txt /app/requirements.txt
COPY ./main.py /app/main.py
RUN pip3 install --no-cache-dir --upgrade -r /app/requirements.txt
EXPOSE 5555
CMD [ "uvicorn", "main:app", "--proxy-headers", "--host", "0.0.0.0", "--port", "5555" ]
Creating a DynamoDB table using Terraform
Terraform is an infrastructure as code platform that allows cloud developers to provision infrastructure using machine and human readable files written in a declarative syntax. The code below demonstrates how this is done and assumes that both the Terraform and Amazon Web Services CLI have been installed on a local computer:
- A provider block is declared to inform the Terraform interpreter that Amazon Web Services (AWS) will be used in order to provision resources.
-
A resource definition block specifies a resource type
aws_dynamodb_tableand nameclients. -
The
aws_dynamodb_tablecontains mandatory and optional attributes that are defined. -
Of note is the
hash_keyattribute which sets the primary key for the table to a client's provided email address. -
The
hash_keyattribute must then be specified to be of type string. - Unlike SQL, DynamoDB tables don't require all columns to be defined at table creation.
-
New columns will be automatically created when objects containing such fields are
inserted
into
the table
(see the
registerendpoint in the following section to get a better idea of how this works). -
tagscan be useful when a Terraform configuration file contains a large quantity of resources.
provider "aws" {
  region = "us-west-2"
}

resource "aws_dynamodb_table" "clients" {
  name           = "clients"
  billing_mode   = "PROVISIONED"
  read_capacity  = 1
  write_capacity = 1
  hash_key       = "email"

  attribute {
    name = "email"
    type = "S"
  }

  tags = {
    Name        = "dynamodb-table-1"
    Environment = "production"
  }
}
Developing a back-end authentication API
I have used FastAPI to implement the back-end
logic
required
for performing authentication. I've chosen FastAPI over competing API frameworks because I
was
very
impressed
with the documentation provided by FastAPI. Not only were the getting started tutorials on
their
website
excellent, but within the API itself one can navigate to a built-in /docs
endpoint
and
interact with the various endpoints contained within the API (this will be demonstrated
below).
Let's take a
look at our API implementation; it is very straightforward:
-
After adding the necessary import statements, we initialize our FastAPI instance to a
variable
appand also initialize variables used to access an AWS DynamoDB table that will be used to store client credentials.
import hashlib
import hmac
import os
from typing import Tuple
import boto3
import uvicorn
from fastapi import FastAPI, Form

app = FastAPI()
dynamodb = boto3.resource('dynamodb')
table = dynamodb.Table('clients')
- Next, two helper functions are defined that will be used for authentication.
-
hash_new_password()accepts as an argument a string corresponding to a password provided by the client during the registration process. - The password is salted to increase entropy during hashing and mitigate rainbow table attacks.
- After salting, the password is hashed successively, in this case 10,000 times, and the resulting hash, as well as the salt used, are returned by the function.
def hash_new_password(password: str) -> Tuple[bytes, bytes]:
    """
    Hash the provided password with a randomly-generated salt,
    encode as base64, and return the salt and hash for storage.
    """
    salt = os.urandom(64)
    hashed_password = hashlib.pbkdf2_hmac('sha256', password.encode(), salt, 100000)
    return salt, hashed_password
is_correct_password()accepts three arguments:- A salt that was used to hash a client-provided password.
- A hash of the same client-provided password.
- A new password (unhashed) that is being provided in an authentication attempt.
-
This function will repeat the hashing process defined in
hash_new_password()using the previously-stored salt, and if the resulting hash matches the stored hash, the password can be considered correct.
def is_correct_password(salt: bytes, hashed_password: bytes, password: str) -> bool:
    """
    Given a previously-stored salt/hash and a password in a current
    authentication attempt check whether the password is correct.
    """
    return hmac.compare_digest(
        hashed_password,
        hashlib.pbkdf2_hmac('sha256', password.encode(), salt, 100000)
    )
The remainder of the API implementation involves defining endpoints and how they should behave:
-
In FastAPI endpoints are defined using the annotation pattern
@<app_name>.<HTTP_request_type>(/"<path_to_endpoint>"). -
This means API consumers can access the endpoint by navigating to the base url
followed
by
the
endpoints path, i.e.
authenticator_api.dev/register/. -
The
registerendpoint uses the helper functionhash_new_password()in order to obtain a salt and hashed password provided during a registration attempt. These values will be stored as a DynamoDB table row where the client email serves as a primary key. -
The
authenticateendpoint is implemented to allow clients the convenience of ensuring their registered credentials are working as expected. This endpoint expects to receive HTML form data from the project's front end web page (described below). -
This endpoint will query the DynamoDB table for a provided email, and if this
email
exists,
the
corresponding salt and hashed password that were stored in the same row will be
retrieved
and
will be passed to the helper function
is_correct_password()in order to determine if the password provided to the form matches the previously registered password. -
The
authenticate_no_formendpoint is used to interface directly between the main project's API (responsible for provisioning cloud infrastructure and deploying client-provided images) and expects to receive a username and password value asstringtypes. - This function contains identical logic as explained above, only the argument types differ.
- Finally, a Uvicorn server is started that runs the API we have just implemented using a specified host and port.
@app.post("/register/")
async def register(username: str = Form(...), password: str = Form(...)):
    """
    Accepts an email address and password as parameters, calls hash_new_password in order
    to hash and salt the password and then stores the email, salt, and hashed password in a
    DynamoDB table.
    :param username:
    :param password:
    :return:
    """
    salt, hashed_password = hash_new_password(password)
    table.put_item(
        Item= {
            'email': username,
            'salt': salt,
            'password': hashed_password
        }
    )
    return {f"Success! {username} has been registered."}


@app.post("/authenticate/")
async def authenticate(username: str = Form(...), password: str = Form(...)):
    """
    Accepts a previously registered email and password combination, if valid this function
    will return redirect to API root after setting a session cookie.
    :param username:
    :param password:
    :return:
    """
    try:
        response = table.get_item(Key={'email': username})
        item = response['Item']
        stored_salt = item['salt'].value
        stored_password = item['password'].value
        return is_correct_password(stored_salt, stored_password, password)
    except KeyError:
        return "The email you entered has not been registered."


@app.post("/authenticate_no_form/")
async def authenticate_no_form(username: str, password: str):
    """
    Accepts a previously registered email and password combination, if valid this function
    will return redirect to API root after setting a session cookie.
    :param username:
    :param password:
    :return:
    """
    try:
        response = table.get_item(Key={'email': username})
        item = response['Item']
        stored_salt = item['salt'].value
        stored_password = item['password'].value
        return is_correct_password(stored_salt, stored_password, password)
    except KeyError:
        return "The email you entered has not been registered."

if __name__ == '__main__':
    uvicorn.run("main:app", host='localhost', port=5555, reload=True)
Creating a front-end registration form
Next, a registration form needs to be created that will allow clients to register
for an
account
with our
service and provide their preferred credentials. This form is simple and consists of
basic
HTML
and
Bootstrap CSS. Bootstrap is used because it
provides
convenient form classes that validate field entries before the form is submitted,
and
this
eliminates edge cases where a client may submit a null username or password value.
Note
that
the
API
has been taken offline to avoid incurring unexpected costs on AWS, and the buttons
Authenticate
and Register now post the form field data to a public DNS resolver, so
please
do
not
enter any sensitive information.
- This dockerfile first loads the nginx base image.
-
Next, the html page
index.htmlis copied into the container's working directory. - The container is instructed to listen on port 80 (http traffic).
- A command is used to start the nginx service.
Nginx is a powerful, free and open source software package that allows for easily configuring web servers. In this case, the web server has the very simple task of serving a visitor with a static HTML page.
FROM nginx
COPY index.html  /usr/share/nginx/html/index.html
EXPOSE 80
CMD [ "nginx", "-g", "daemon off;"]
Deploying with Docker and Amazon ECS
We have successfully implemented all the individual components of our microservice, and
testing
has
confirmed
that everything is working as expected. Now it is time to deploy our microservice to
cloud
infrastructure,
where our clients and the main project API can access it via the public internet. For
this,
I
decided to use
Docker Compose and ECS.
Docker
Compose
allows
multiple containers to be configured and also provides the ability to define components
shared
between them.
Amazon's
Elastic Container Service (ECS) is a container
orchestration
service that makes it easy to deploy, manage and scale containerized applications.
Amazon Cloud Formation is similar
to
Terraform
in that
it uses a declarative file to provision cloud infrastructure. The
docker-compose.yml
file
shown below will be converted into an Amazon Cloud Formation template in order to
provision
the
additional
resources needed to deploy and interface the two containers described:
-
Docker Compose
allows for
x-awsfields to be declared which correspond to AWS resources. -
x-aws-loadbalanceris declared here but was provisioned manually via the AWS console. Creating a load balancer allowed for the authentication API to have a static IP address at which it could be accessed via the public internet. -
The
servicesblock allows for the containerized applications defined in previous dockerfiles to be built and defines port mapping. -
It is worth noting that Docker Compose does not allow for building images stored
on
a
local
machine,
rather the images specified in
docker-compose.ymlmust be pulled from a container repository. -
This is why the field
x-aws-pull_credentialshas been defined. -
The
networksblock defines how the two services will interface with each other. -
sg-01af30133ec33c737specifies a security group that governs the load balancer and the services defined in this file.
version: "3.8"

x-aws-loadbalancer: "arn:aws:elasticloadbalancing:us-west-2:877048740243:loadbalancer/app/auth/450268cab678f752"

services:
  fastapi:
    image: harr1424/auth:FastAPI
    x-aws-pull_credentials: "arn:aws:secretsmanager:REDACTED"
    build: FastAPI
    ports:
      - target: 5555
        x-aws-protocol: http

  nginx:
    image: harr1424/auth:nginx
    x-aws-pull_credentials: "arn:aws:secretsmanager:REDACTED"
    build: nginx
    ports:
      - "80:80"
    depends_on:
      - fastapi

networks:
  default:
    external: true
    name: sg-01af30133ec33c737
Having pushed our container images to a remote repository and completed our
docker-compose.yml
file, we now need only to configure an AWS context for Docker and then run
docker compose up and
our containerized applications and all required resources will be provisioned.
Integrating the authentication microservice with the main project API
Now that our authentication microservice is up and running, we can request our clients register for an account and provide these credentials before using our services. Integrating the authentication microservice was fairly straightforward and is described below:
- A variable is set to hold a string containing the URL of the authentication endpoint to be contacted.
- A function is defined that will accept a username and password, pass these values to the authentication endpoint and return a JSON response.
-
If the JSON response is
true, the authentication attempt succeeds. -
It was necessary to use the
requestslibrary in Python to form an appropriate request to the endpoint containing the username and password provided by the client. -
The
uploadendpoint in our main project API demonstrates how the authentication service will be used. - In addition to a file parameter, a client must also provide their username and password.
- The values of the provided username and password will be used to either return a successful authentication response and execute the file upload or else display a message informing the client that their credentials are invalid.
# Contact the authentication API via static load balancer
auth_url = "http://auth-852092430.us-west-2.elb.amazonaws.com:5555/authenticate_no_form/"


# Function to authenticate a client, requires username and password as string args
def auth(username: str, password: str):
    headers = {
        'accept': 'application/json',
        'content-type': 'application/x-www-form-urlencoded',
    }
    params = {
        'username': username,
        'password': password,
    }
    response = requests.post(auth_url, headers=headers, params=params)
    return response.json()

@app.post("/upload")
async def upload_file(file: UploadFile, username: str, password: str):
    """
    Uploads a docker image to S3
    """
    if str((auth(username, password))) == "True":
        # Generate a unique ID for the file
        img_id = uuid4().hex

        # Write the file to a byte stream
        bytestream = io.BytesIO(file.file.read())

        # Upload the file to S3 in byte chunks
        s3_client.upload_fileobj(bytestream, "umt-client-uploads", f"{img_id}.tar")

        return {"ID": img_id}

    else:
        return "Invalid Credentials"
What I've learned
APIs and microservices are a fundamental topic in contemporary computing. The practical experience gained in learning how to provision and utilize cloud infrastructure has been extremely valuable. Prior to this course I was familiar with AWS and even realized that a large portion of the internet was hosted on AWS infrastructure, but I did not appreciate the complexity and breadth of services offered by AWS and the precision required to integrate multiple services with each other. For instance, this project made use of Amazon S3 to store client-uploaded images, EC2 or ECS to deploy them, load balancers to handle network traffic and Route 53 for resolving DNS requests to our static IP address. The majority of the orchestration between these resources was performed automatically, but in order to write the configuration files necessary to kickstart this orchestration, it was necessary to research these services in depth.
It is also worth noting that AWS is only one cloud solution provider; Microsoft Azure and Google Cloud Platform are well-established competitors. Regardless of a cloud solution provider, the usage of Docker seems essential when developing, testing and deploying cloud-based applications. This project provided me with a much greater appreciation for what Docker and containerized applications can accomplish, both in respect to cloud-based applications and also applications intended to run locally.
Prior to this project, I did not have a clear understanding of what an API was or
how
one
was
implemented.
In a connected world increasingly supported by different software applications, APIs
are
crucial
in
providing a way for exchanging information between applications and providing useful
services to
consumers.
I am delighted to have found an API framework as intuitive and easy to test as
FastAPI.
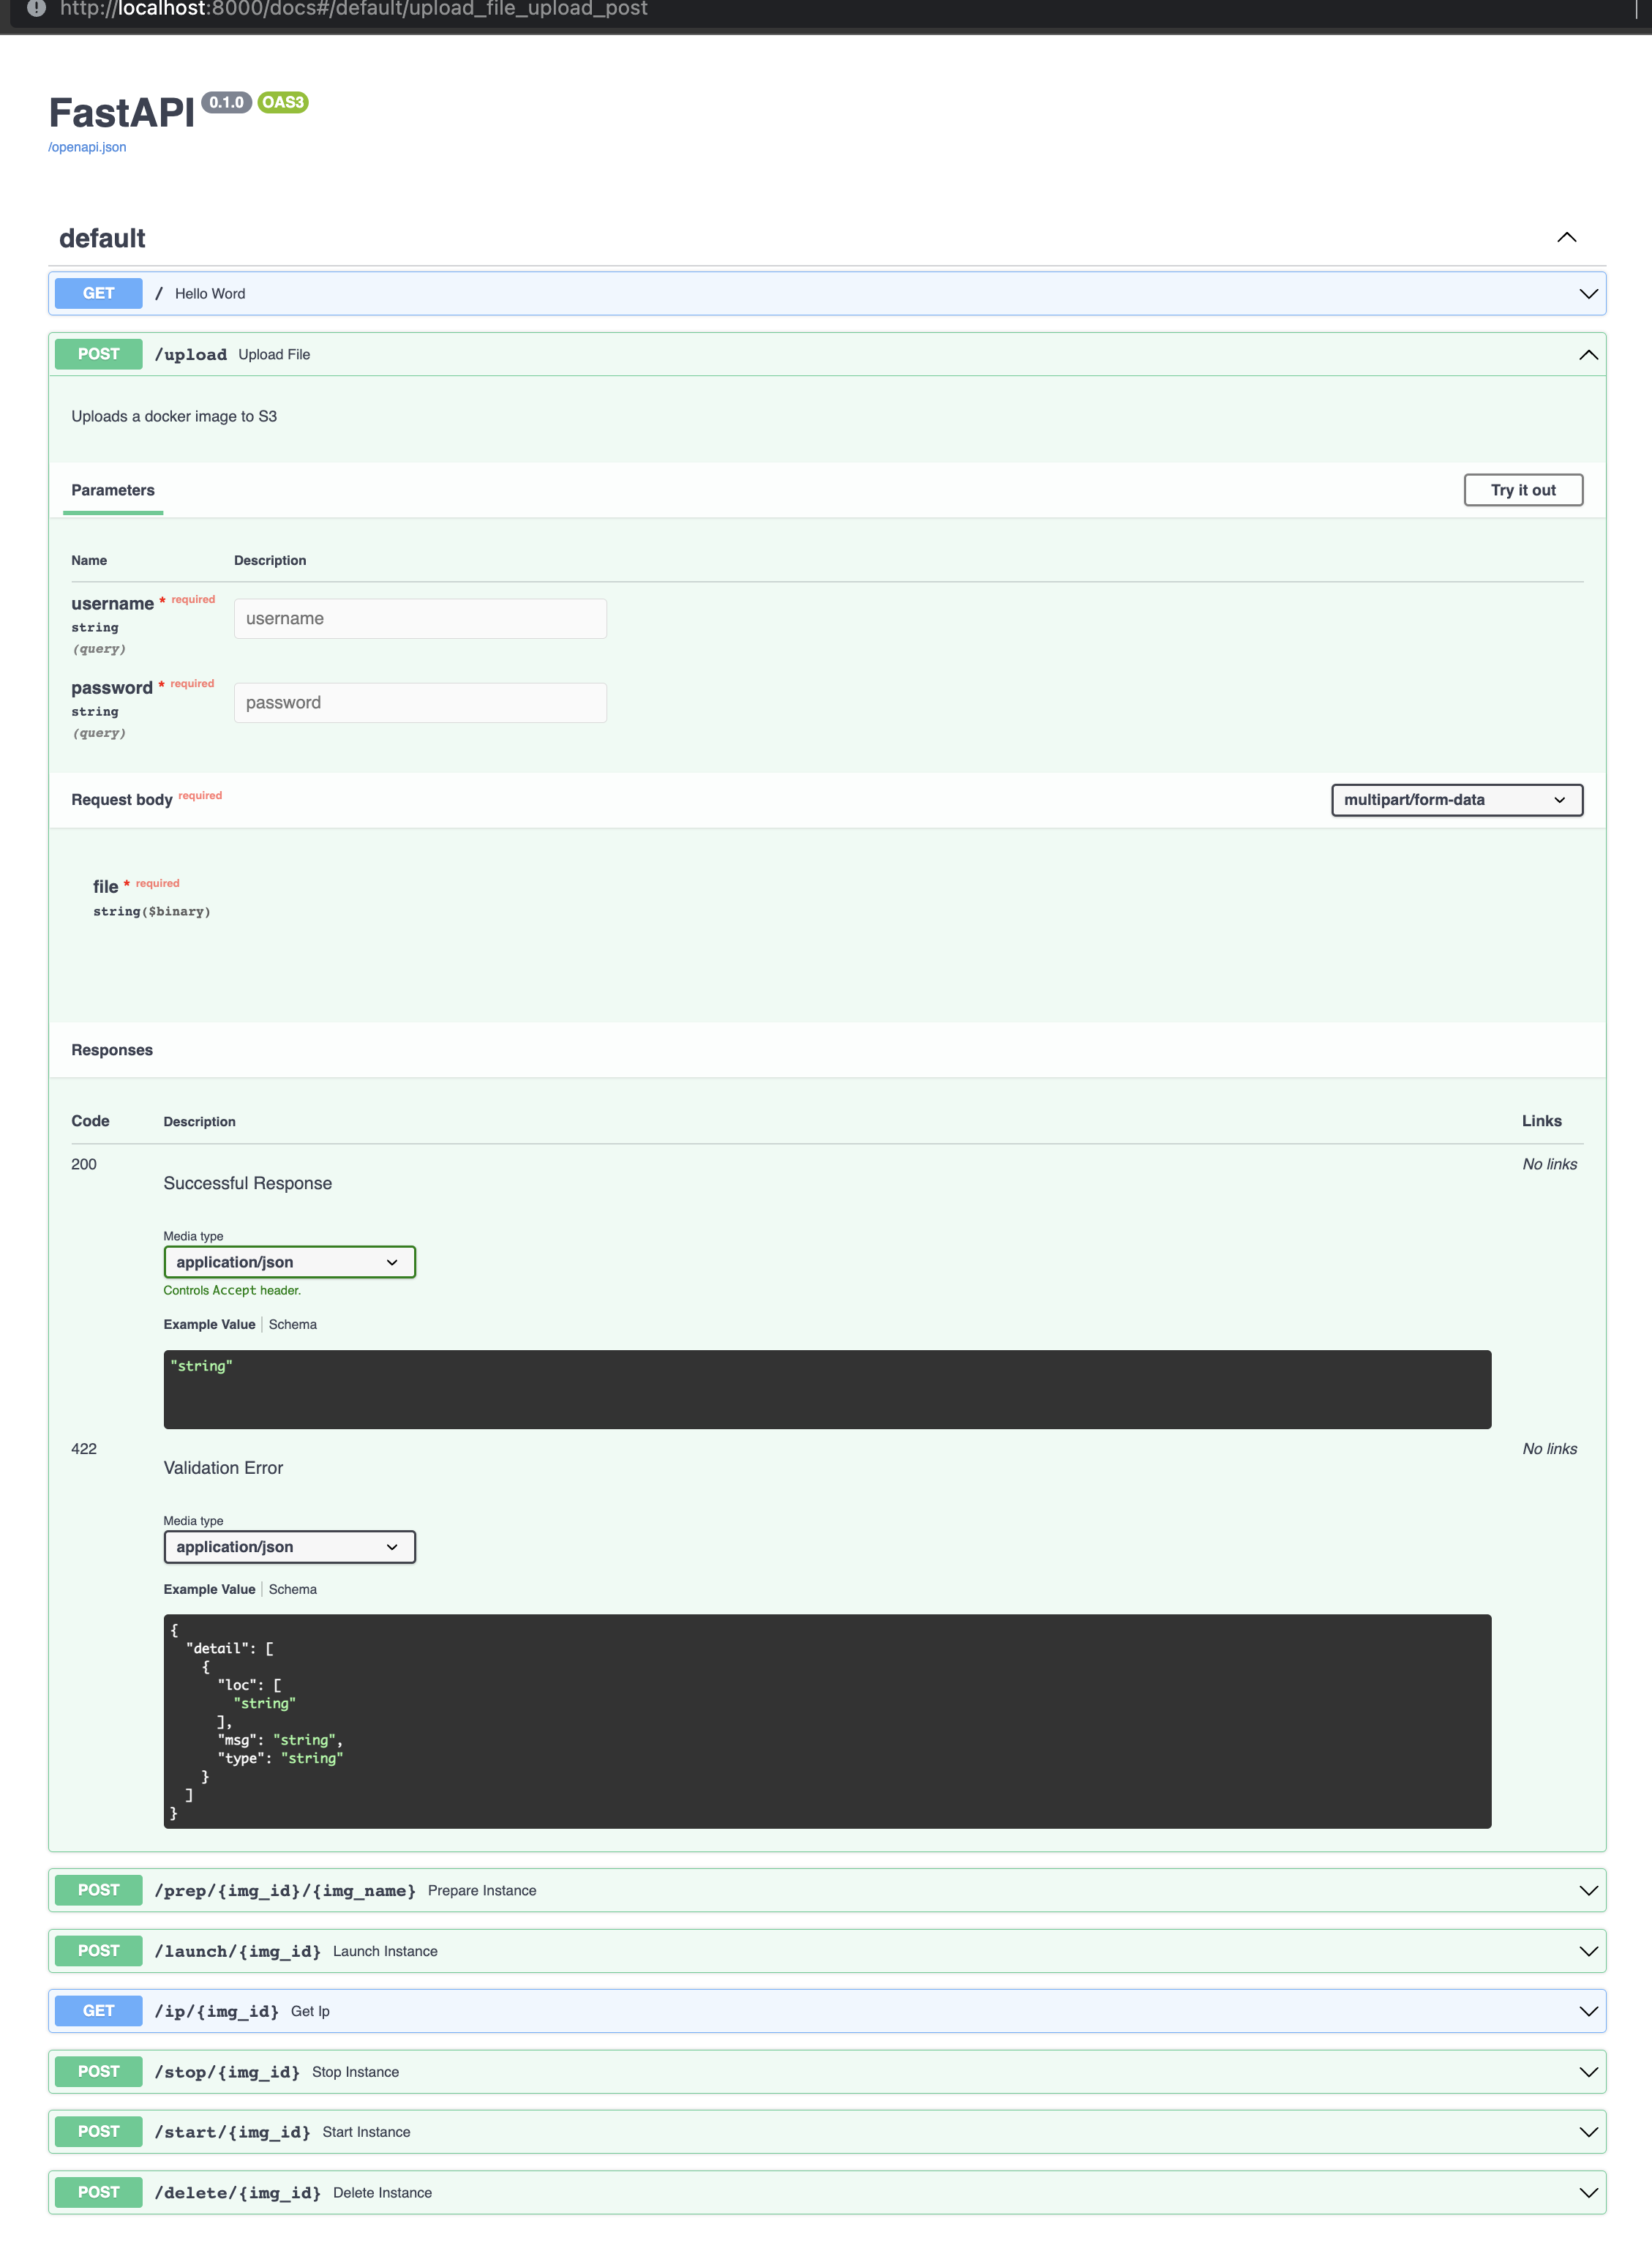
The
image below
demonstrates the API specific documentation that makes FastAPI so wonderful to work
with: